


Ulo Scope
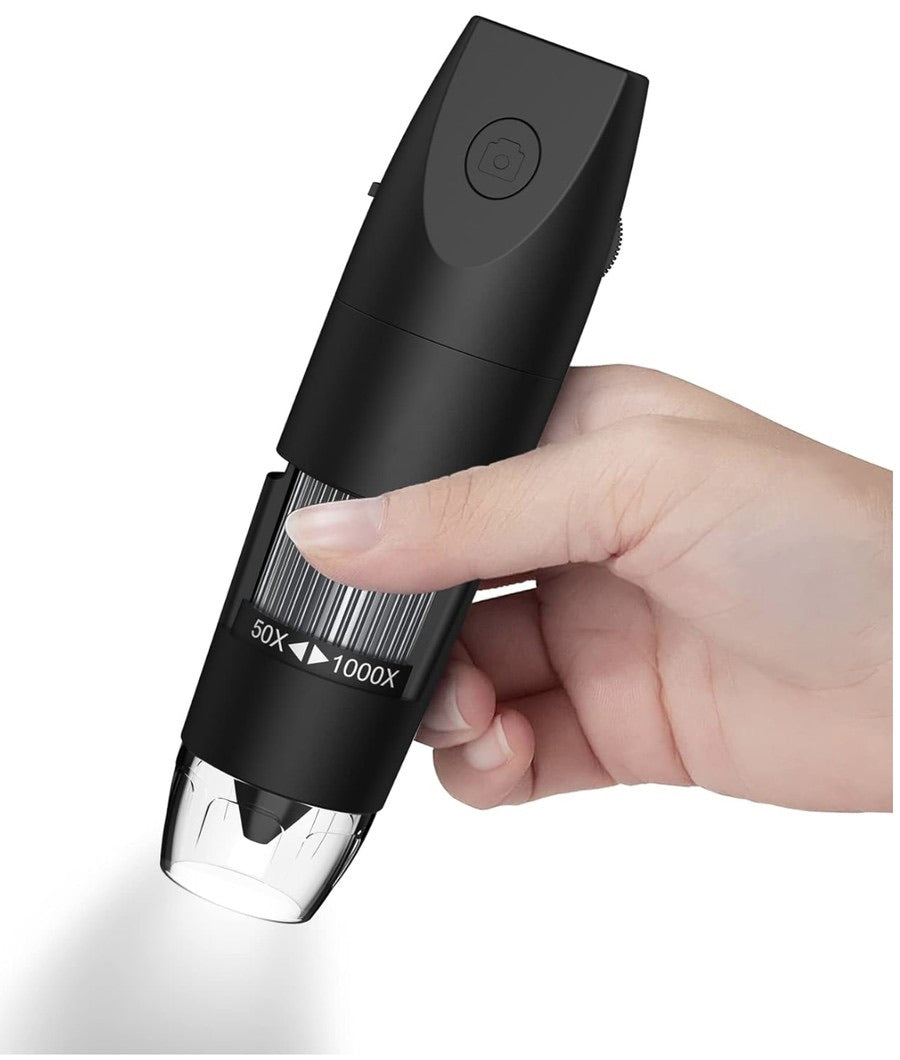
How to use your Ulo Scope
Micro-zoomed photos of your scalp, saved to your free Ulo account, so you can track changes you can’t see in the mirror.
Open the Ulo portalSign in or create a free account with just your email.
What you’ll need.
Your Ulo Scope, a free Ulo account, and one of these:
- A computerIn Chrome or Edge.
- An iPad with USB-CIn Safari.
- An Android phoneOne that supports USB cameras.
Not on iPhone. iPhones don’t allow plug-in cameras. Sign in on one of the devices above with the same email, and your close-ups will show up on your iPhone afterwards.
Six steps. Then take your photos.
-
-
-
-
-
-
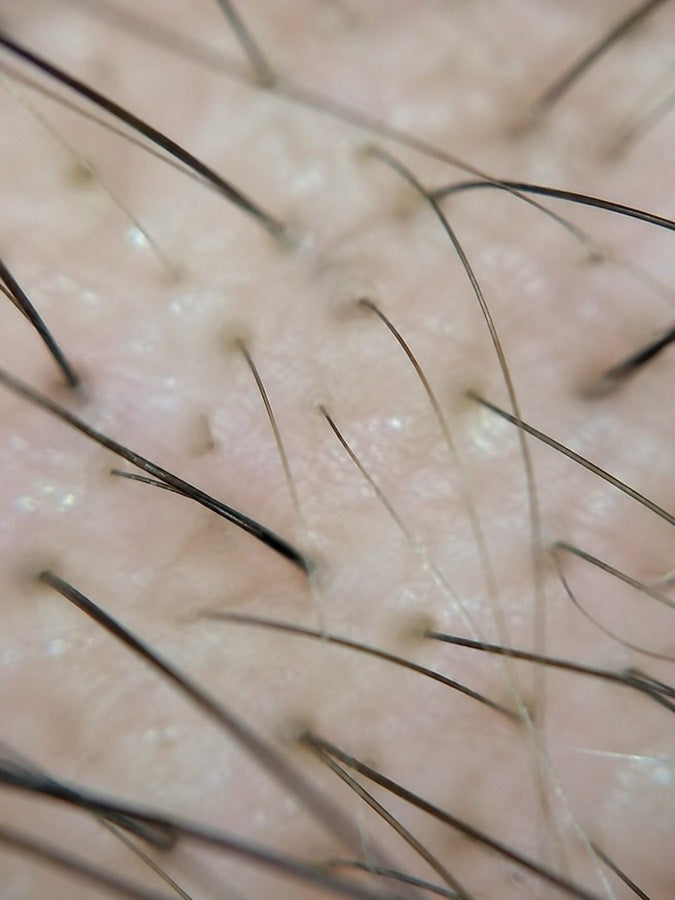
Scalp skin out of focus 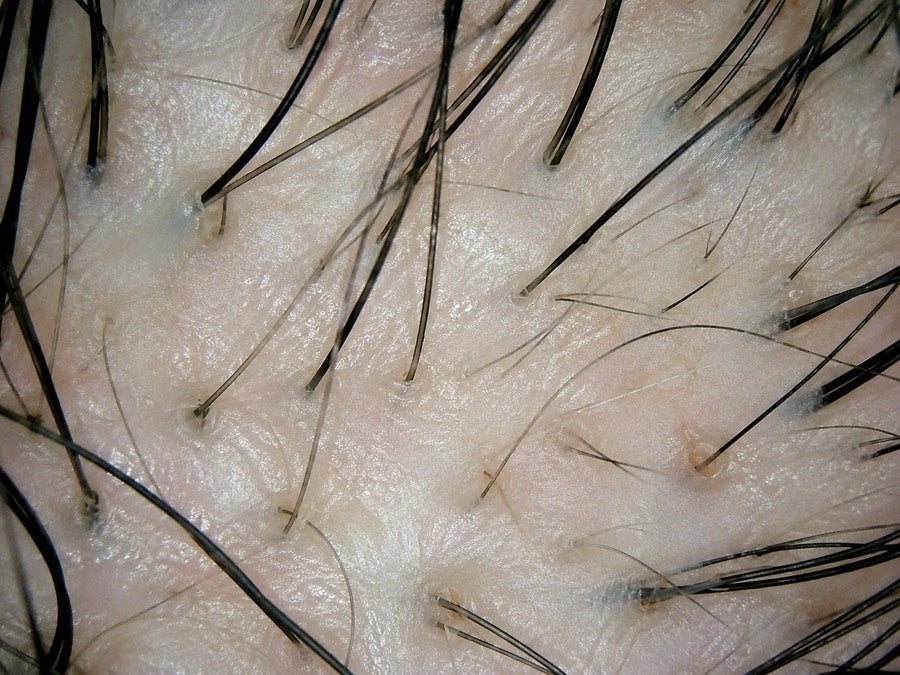
Scalp skin in focus
Aim for this image quality.
Clear scalp skin + visible follicle openings.
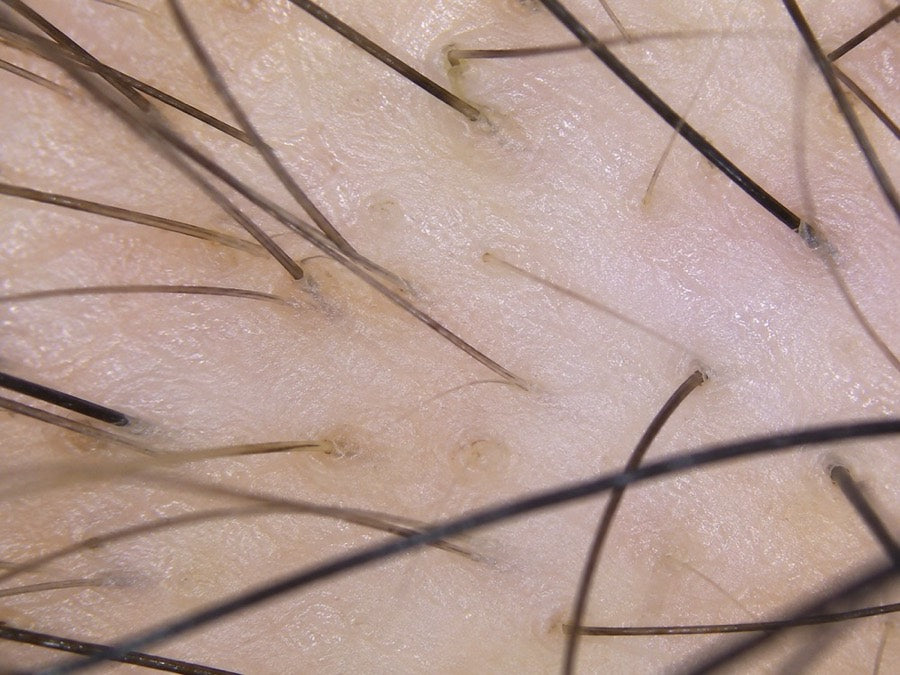
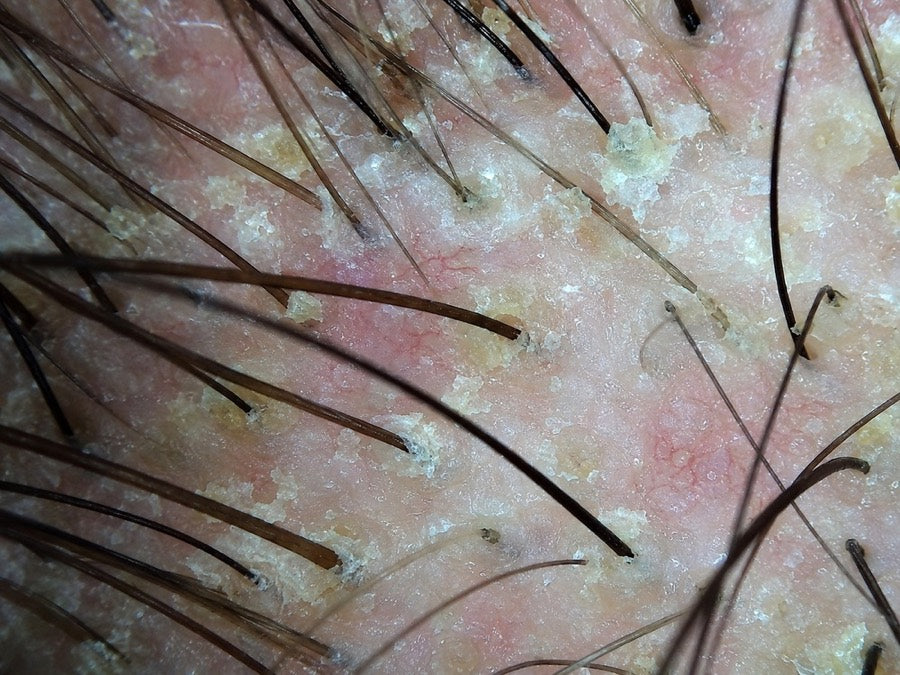
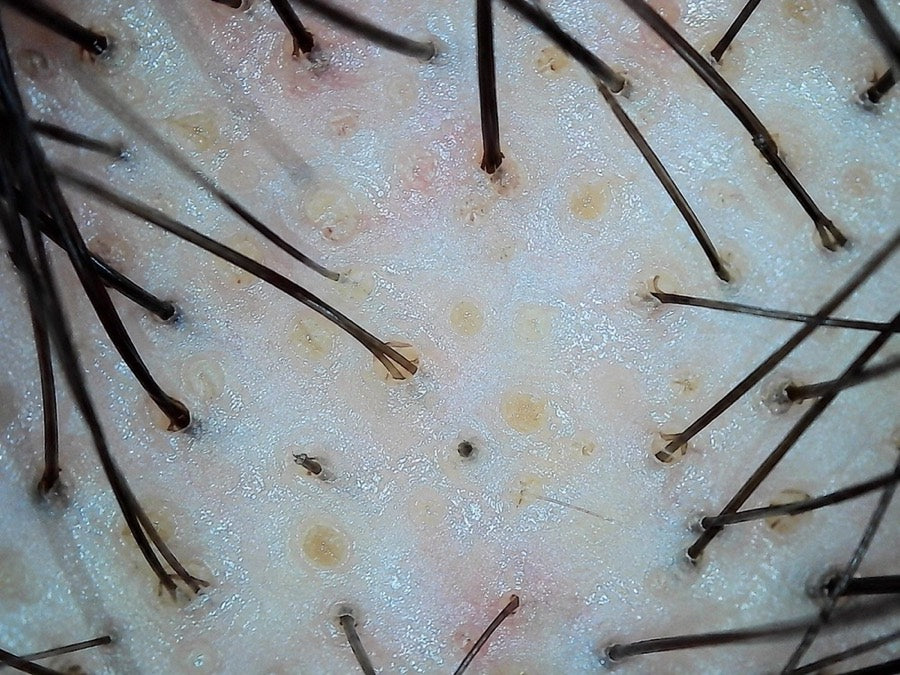
Take your close-ups in the Ulo portal.
Each session is saved to your account as one set of close-ups, so you can track your progress month over month.
- Sign in or create a free accountGo to members.ulo.co on one of the devices above and enter your email. We’ll send a one-time sign-in link, no password.
- Open My ProgressChoose Add close-up photos, then Use Scope camera. You can also upload close-ups you’ve already taken.
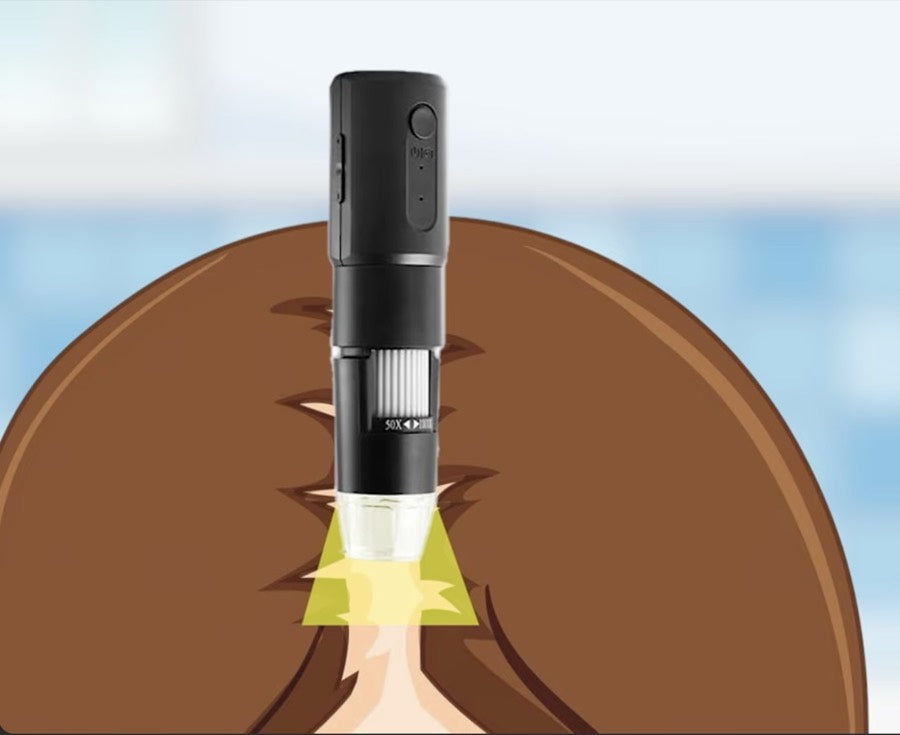
- Press, focus, capturePress firmly, focus until the skin texture is crisp, then capture. Move a little and repeat.
- Review and saveRemove any blurry photos, then save the set. You’ll find it under Ulo Scope in My Progress.
One photo is enough to save a set. Aim for 10–30 for broader coverage, and come back to the same areas (hairline, temples, crown or part) each month so changes are easy to compare.
Open the Ulo portalQuestions about your Scope? Email [email protected].

